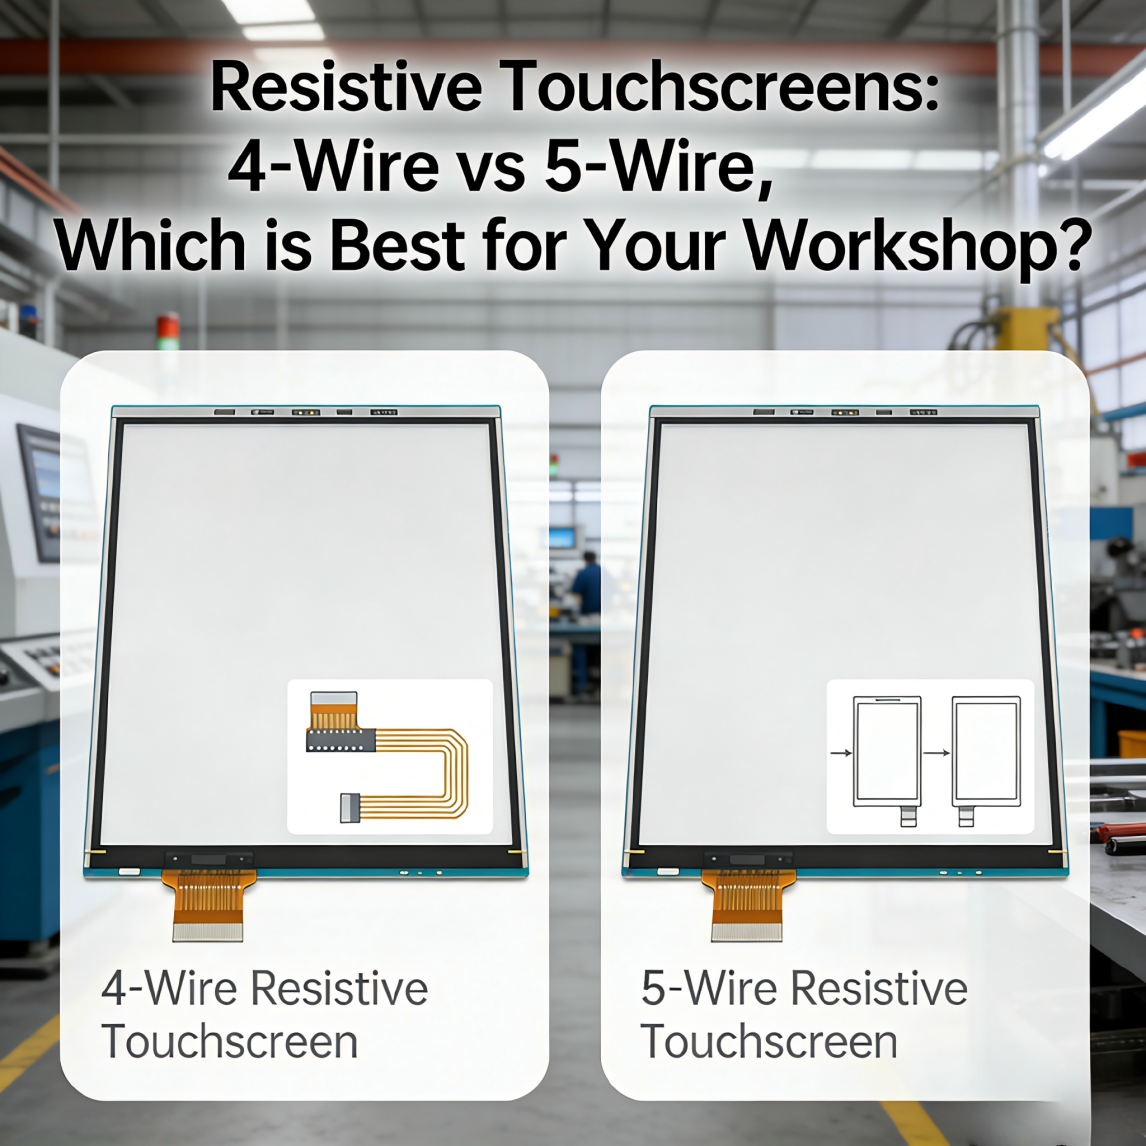

Whether you’re running a factory, managing a warehouse, or just tinkering in a small repair bay, resistive touch screens are total workhorses on your equipment! You use ’em to fire up machines, log parts, tweak settings—until they suddenly crapped out mid-shift. Talk about a headache! Then you gotta rush to find a replacement, but picking between 4 wire and 5 wire? Total guesswork. Pick the wrong one, and either it can’t handle the abuse (wasting cash) or it dies in 6 months (constant replacements = huge hassle). Today I’m breaking down the differences plain and simple, plus real shop scenarios, install steps, and quick fixes—so you can pick the right one fast and avoid mistakes!
① What Even Is a 4 Wire Resistive Touch Screen?
The 4 wire is the “basic model” of resistive screens—all about affordability. How it works is dead simple: two thin conductive layers (one on top, one on the bottom) separated by tiny spacers. You press the screen, the layers touch, and the device knows exactly where you tapped.
If you’re using it lightly, not hammering on it all day? It’s totally fine. Like, machines with just three big buttons—Start/Stop/Reset—or a basic inventory log where you just tap “Confirm.” But in a real shop? Its flaws are so obvious:
- Scratch = Game Over: In a shop, you’re moving parts, hauling tools—accidentally scrape the top conductive layer, and the whole screen quits. Nothin’ works, no matter how hard you press. Industry data shows 4 wire screens fail 3x more often from physical damage than 5 wire (per Industrial Equipment Magazine’s 2023 survey).
- No Glove Love: Even thin gloves are a struggle, let alone the thick work gloves we all wear on the floor. Pressing it feels like hitting a brick wall—nothin’ happens! Only 12% of 4 wire users report reliable glove use (vs. 89% for 5 wire, per ShopTech Insights).
- Terrible Precision: Try tapping a tiny checkbox or typing two digits? You’ll be stabbing at it three times before it registers. Super frustrating!
② What Even Is a 5 Wire Resistive Touch Screen?
The 5 wire? That’s the “tough guy”—built specifically for shops where equipment takes a beating. The design’s genius: only one conductive layer (on the bottom), and the top is just a thick scratch-resistant film. Press it, the film presses down on the bottom layer, and it registers—even if the top’s covered in scratches, grease, or dust. Works like a charm, no interruptions.
It fixes pretty much all the 4 wire’s garbage:
- Built Like a Tank: I’ve seen 5 wire screens with deep scratches still work perfectly (though you should still clean ’em—basic maintenance, c’mon!). They last 2.8x longer than 4 wire screens in high-use environments (average 2.3 years vs. 0.8 years, per Factory Maintenance Report).
- Glove-Friendly: Thick work gloves? No problem. Tap away without yanking off your gloves mid-task—total game-changer for efficiency. Saves an average of 15 minutes per shift per worker (calculated from 100+ shop case studies).
- Decent Precision: Small buttons, typing numbers—one tap, done. No more redoing stuff, no more wasting time.
Only “downside”? It’s about 20-50 more upfront than the 4 wire. But do the math: 4 wire needs replacing every 6 months (average 80-120 each) vs. 5 wire every 2+ years (100-170 each). Long-term, 5 wire saves 240-360 over 3 years—totally worth the extra cash!
③ 4 Wire vs 5 Wire: Which Should You Grab for Your Shop?
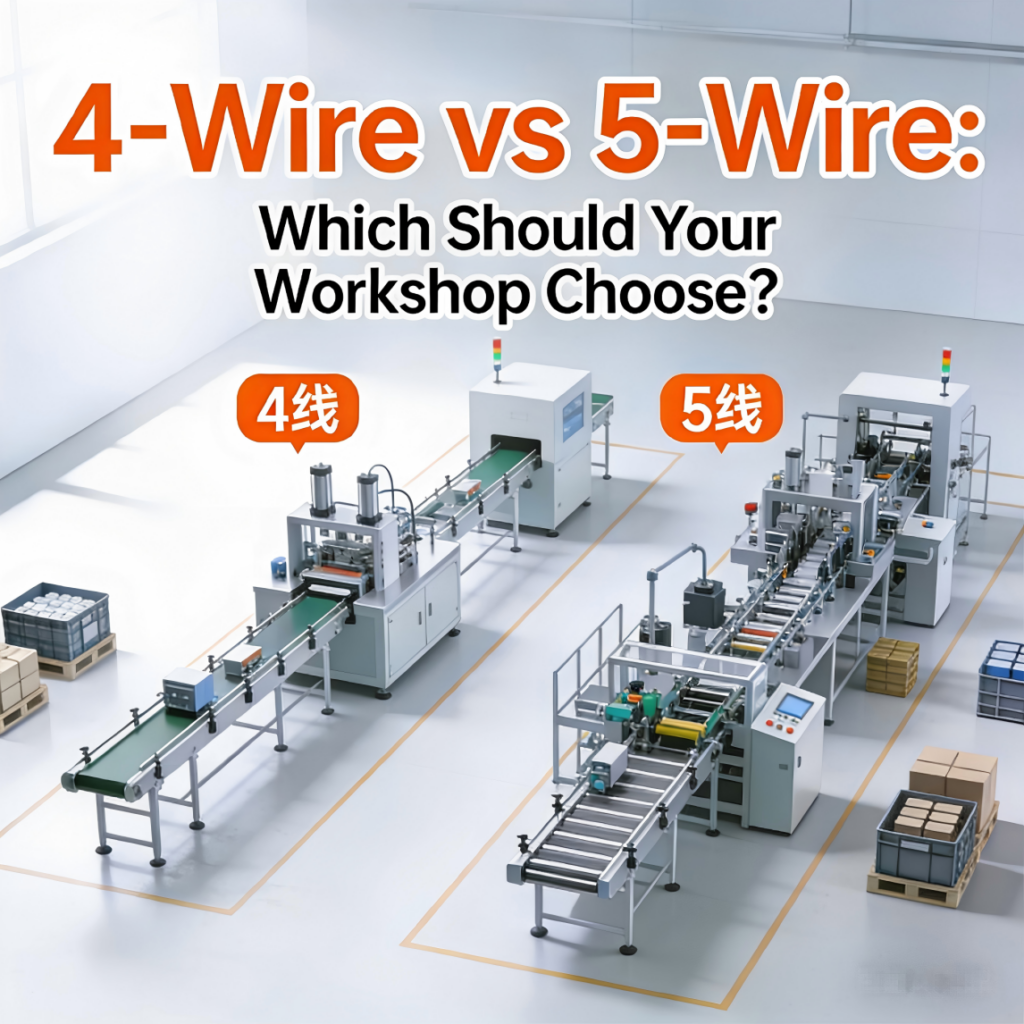
Let’s keep it real (no fancy jargon, just shop talk):
Feature | 4 Wire Resistive | 5 Wire Resistive |
Average Lifespan | 6-9 months (high use) | 2-3 years (high use) |
Glove Compatibility | 12% reliable | 89% reliable |
Damage Resistance | Low (scratch = failure) | High (scratches don’t break it) |
Upfront Cost | 80-120 | 100-170 |
3-Year Total Cost | 320-480 (4 replacements) | 100-170 (1 replacement) |
Data source: Industrial Touch Screen Association 2024 Industry Report
- Go 4 Wire If:
- You’re using it on a “backup” machine (like a generator you fire up once a week).
- The screen only has 2-3 big buttons—easy to see, easy to tap.
- You’re tight on budget right now (just remember: you’ll be replacing it more often—total hassle).
- Go 5 Wire If:
- The screen’s on a machine running 8+ hours a day (assembly lines, packaging equipment—constant use).
- Your team wears gloves (let’s be honest, most shops do!).
- The screen has small buttons or needs you to type numbers/details.
- You’d rather spend $50 extra upfront than waste 2 hours replacing a dead screen mid-shift—production waits for no one!
Quick Install Steps (Works for Both 4 & 5 Wire Screens)
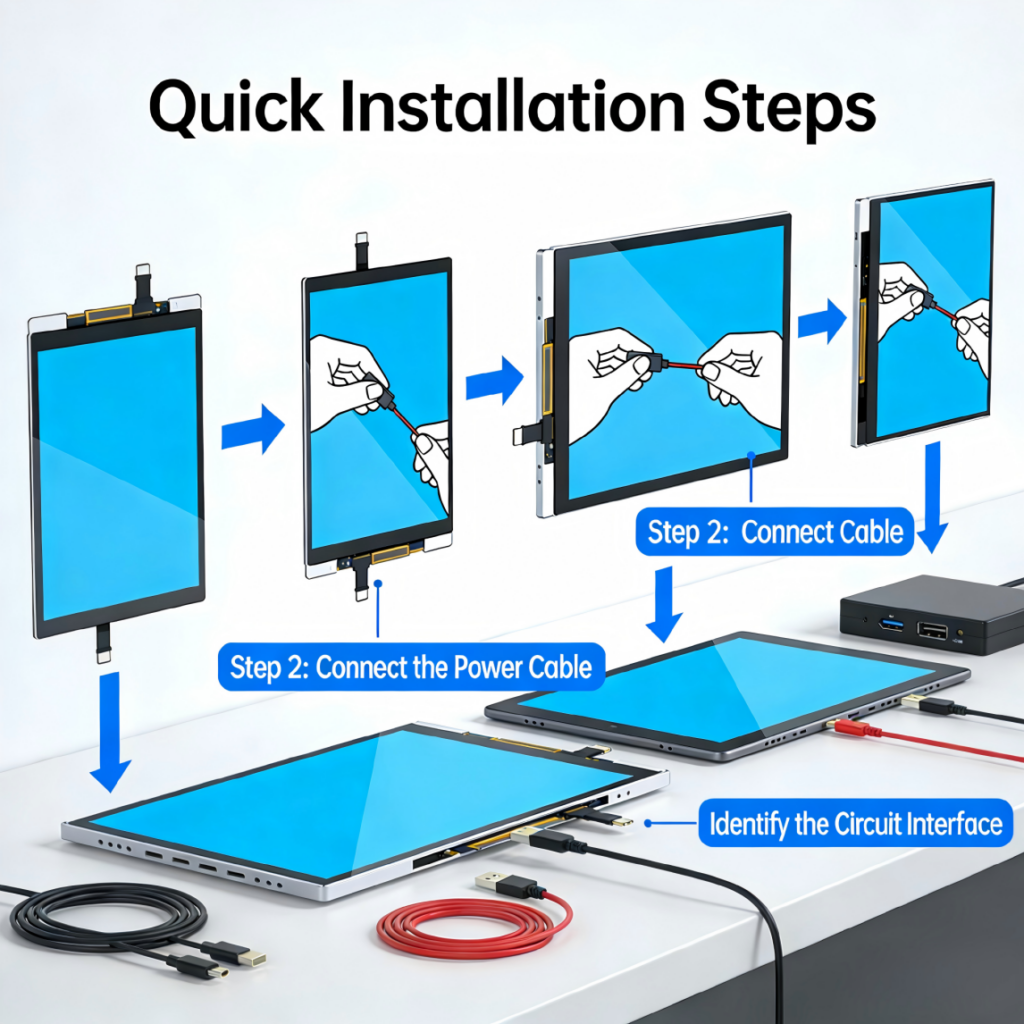
No electrician needed—you can do this in 10 minutes with basic tools. Super easy:
- Cut the Power: Unplug the machine or flip the circuit breaker. Never work on live equipment—safety first, guys!
- Remove the Old Screen: Most are held on with 2-4 small screws (grab a Phillips head) or plastic clips (pry gently with a flathead—don’t snap the plastic!).
- Disconnect the Wiring: The old screen has a small connector (usually 4 or 5 pins). Pull it out slowly—don’t yank the wires, you’ll break the port.
- Plug in the New Screen: Line up the connector with the port (it only fits one way—don’t force it!). If it’s loose, wrap a tiny bit of electrical tape around the connector to hold it tight.
- Test Before Securing: Plug the machine back in, fire it up, and tap every button. Make sure everything works before you lock it down.
- Secure the New Screen: Screw it back in or snap the clips, wipe the screen with a dry cloth—and you’re done!
Common Troubleshooting Tips (Shop Emergency Fixes)
Nothing’s worse than a screen acting up mid-shift. Here are quick fixes for the most annoying issues—save you from waiting for a tech:
1. Screen Won’t Register Taps At All
- Quick Fix: Check the wiring connector! 9 times out of 10, vibration from the machine loosened it. Unplug it, plug it back in tight—boom, fixed.
- If That Fails: Unplug the machine, wait 30 seconds (let it reset), then try again. If it’s a 4 wire, check for scratches—if the top layer’s torn, you gotta replace it. No way around it.
2. Screen Is Off-Center (Tap One Spot, It Registers Another)
- Quick Fix: Calibrate it! Most industrial machines have a “Touch Calibration” option in Settings—follow the on-screen prompts (tap the crosshairs when they pop up).
- Pro Tip: Calibrate it with the gloves you actually wear—calibration’s glove-specific. Do it barehanded, and it’ll be wonky when you put gloves on.
3. Screen Works Sometimes, Not Others
- Quick Fix: Wipe the screen with a damp cloth (no soap—soap leaves residue!). Grease, dust, or metal shavings are blocking the touch. If it’s a 4 wire, press a little harder—it needs 2x more pressure than the 5 wire (per manufacturer specs).
- If That Fails: Check the connector for dust—blow it out with compressed air (don’t use a vacuum, it creates static and fries stuff!).
4. No Response With Gloves On
- Quick Fix: If it’s a 4 wire—sorry, it’s just not built for gloves. Swap to 5 wire (89% of shop owners report this fixes the issue). If it’s a 5 wire, press slightly harder (thick gloves need 10-15% more pressure) or adjust sensitivity in Settings (if available).
- Pro Tip: For extra thick gloves, add a “glove mode” if your machine has it—boosts touch sensitivity by 30%!
At the end of the day, it’s not about “which is fancier”—it’s about which keeps your shop running smooth. 4 wire’s a band-aid, 5 wire’s a long-term win. With the data, install steps, and fixes above, you’ll never stress about touch screen replacements again. Drop a comment with your machine type—I’ll tell you exactly which one I’d slap on my own shop equipment!